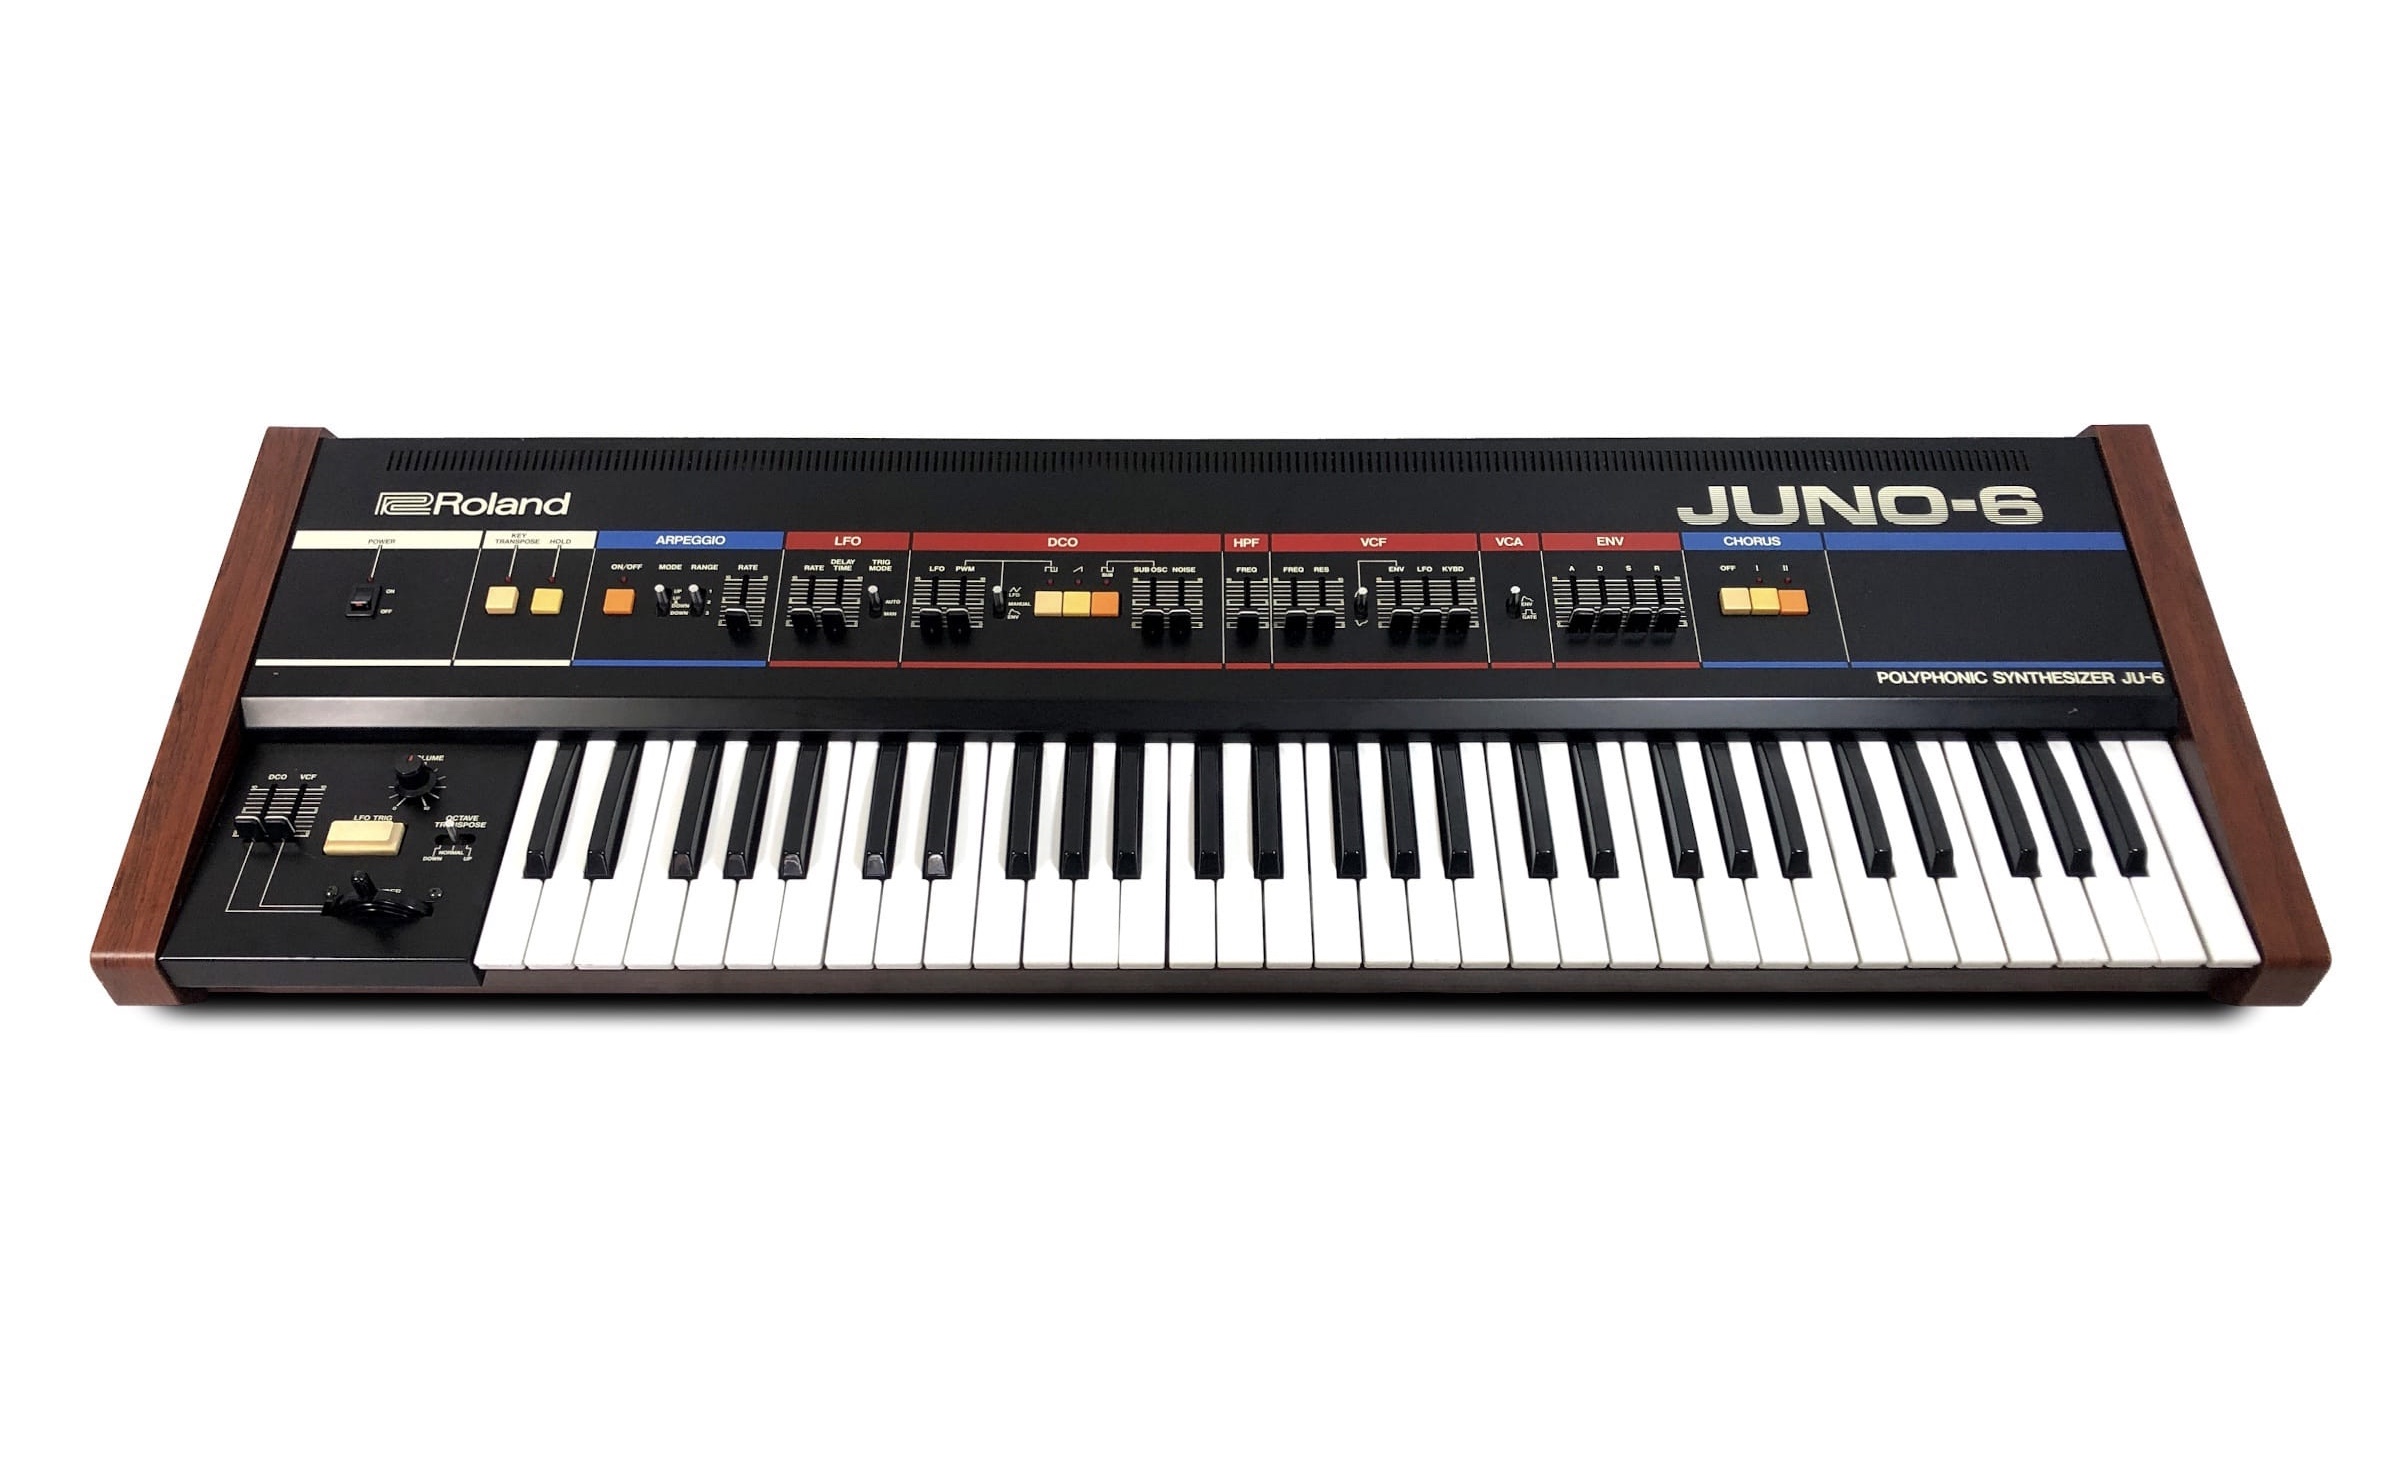
This retrofit is placed between the Juno's keyboard and main board,
and basically translates MIDI into keyboard messages.
It works like if the MIDI sequences were played on the Juno's keyboard :)
It also adds the possibility to sync the Juno's arpeggio to MIDI clock,
but I did not installed it, it is optionnal and I don't really need that.
So this retrofit does not allow to control filters (and other params) via MIDI like the Kenton one,
but it is way cheaper! The Kenton costs £330 if you install it by yourself,
while the Mungo is $99AUD (+some components that you have to buy at your local dealer).
---
THIS ARTICLE IS HERE TO GIVE YOU SOME HELP WITH PICTURES
If you plan to install the Mungo retrofit to your own Juno (it also works with other synths),
these pics may help you, as an add-on to the provided instructions pdf
Board B - Top view
Before soldering power and keyboard cables
Board B - Bottom view
Before soldering power and keyboard cables
Board B - Top view
With all cables, when retrofit is installed
Soldering the chips on Board A
Board A - Top view
Connecting MIDI cables
:: You don't need the switches, and don't want to drill the Juno? ::
You don't have to drill the Juno's desk to make the midi wires go out of the synth!!
I used 2 holes that were already there and it did the trick without any harm on the Juno's structure :)
It is certainly not very sexy, but if you don't want to drill, this is the tip I guess.
Keyboard connectors
The retrofit does its magic between the Juno's keyboard and main board,
emulating keyboard messages.
Powering the retrofit
JOB DONE !!!
You can now put the retrofit in its dedicated place,
and enjoy your FRESH NEW MIDI-POWERED JUNO-6 :)
---
TROUBLESHOOTING AND SUPPORT
Support from Mungo (John) helped me very well and fast when I had some issues making work
the installed retrofit. Thanks again! Here are some tips I can give:
- if you have the Juno's keyboard working perfectly thru the retrofit,
but no action when receiving MIDI, try switching the 2 keyboard connectors
on both the retrofit and the Juno's main board
- if you have the Juno's keyboard not working at all, try switching the connectors
- if you have just one or two notes not playing correctly, check carefully the chips soldering
- if you have a range of notes not working at all, check the keyboard cables soldering on retrofit